
Here's a tutorial for making your own labels!

I used a map as front but ofcourse you can use a newspaper or something else too!
It is really easy to make and has a lovely result!You'll need:
* A map, pictures, newspaper or whatever.. (something for the front of your label)
* An example or template of a label
* Sturdy paper
* Coloured paper
*Thin, tight rope
* Glue
* Scissors
* Perforator
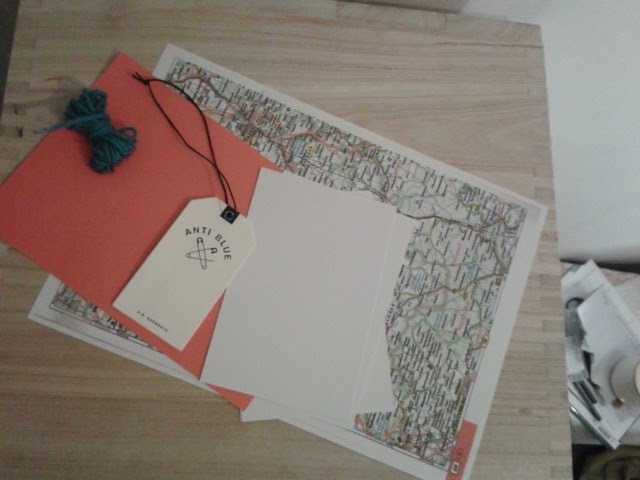
1: Find a nice front for your label. I used a map (of Germany hahaha)
2: Take the example of your label and trace it on your front.
3: Cut out on the just drawn lines
4: Glue the paper labels on a sturdy piece of paper
5: Cut the labels out
6: If you have 7 labels you have to draw 7 cirkels on one half of the coloured paper
7: Fold the coloured paper one time
8: Cut out the 7 cirkels. Because you folded the paper you get 14 cirkels
8: Cut out the 7 cirkels. Because you folded the paper you get 14 cirkels
9: Glue the cirkels on the label
10: Perforate in the middle of the coloured circle.
11: Cut the rope in pieces of 15 cm
12: Pull the rope through the holes you just perforated
13: Tie a knot in the rope

See you next time! xoxo. Jolijn
Hey Jolijn,
BeantwoordenVerwijderenlove your tutorial. Could you please tell me where to find old maps for not too much money? Thanks for helping.
x
Thank you!
VerwijderenI have actually no idea where you can buy old maps!
Maybe you can give it a try in a second-hand shop?
Good Luck!
Jolijn
Tnnx voor je reactie!
BeantwoordenVerwijderenLeuke blog heb je trouwens, wist niet dat je dat ook deed, hahaa
Jeanique
Dankjwel, ja ik doe dit pas een tijdje hoor.. en wil er wel wat meer tijd in steken maar dat lukt me even niet hahaha
VerwijderenJouw blog is ook leuk! Lekker arty.
Bye! Jolijn